
-
 Package
-

-

-


ULTRAGRID® Tiles Double Garage Floor Kit 6x6M, Single Colour
ULTRAGRID® Tiles Double Garage Floor Kit 6x6M, Single Colour

ULTRAGRID® Single Colour Floor Kit. 240 open-rib ventilated tiles + 16 ramps for a 6×6 m double garage. Details
Couldn't load pickup availability
- Free shipping Australia-wide
- Australian replacement warranty
- 40-day easy returns
- Australian owned — ships from AU
- Need help? 1300 148 799
In the garages of


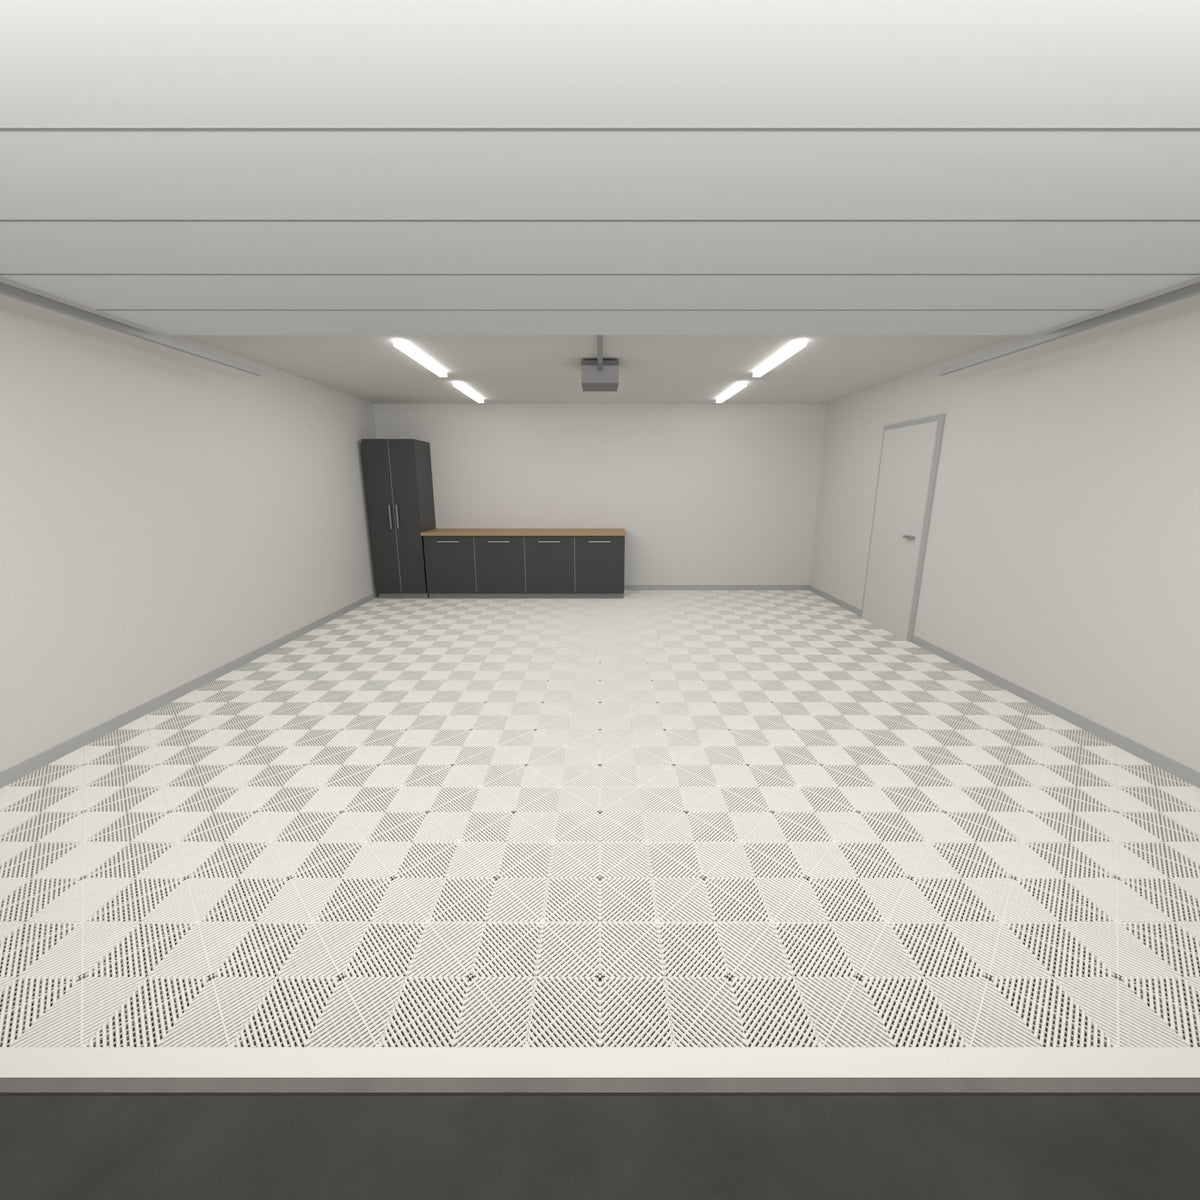
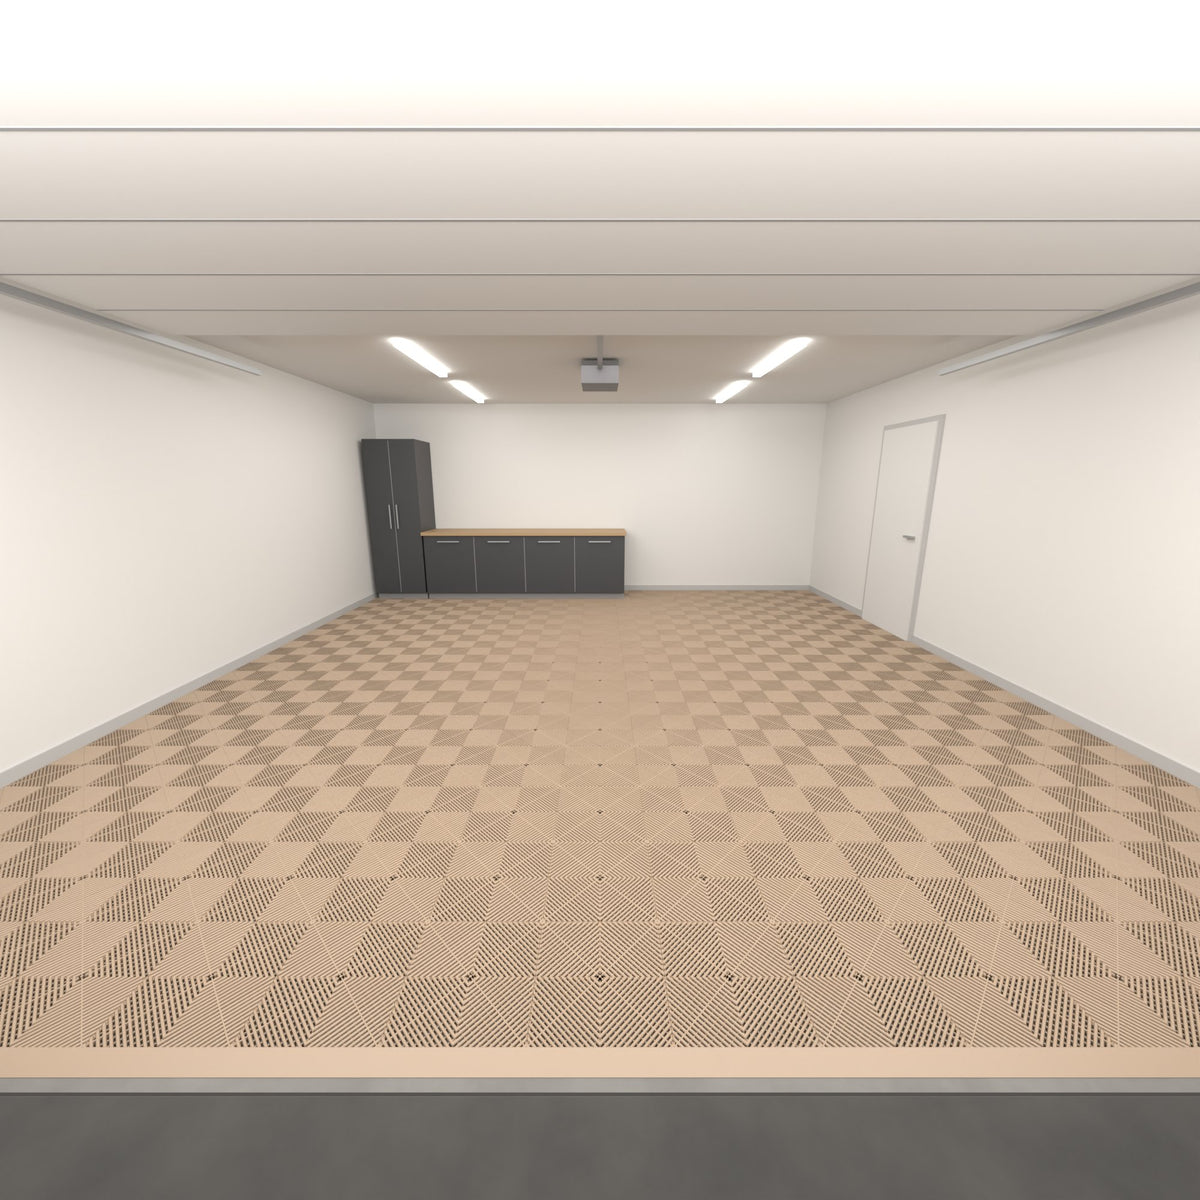
The ULTRAGRID® Single Colour Floor Kit is a durable, versatile modular floor for a standard 6 × 6 m double garage. Inside the box you get 240 tiles (225 floor tiles plus 15 spares) and 16 ULTRAEDGE ramps — everything needed to transform bare concrete in a single afternoon.
- Complete kit — 240 ULTRAGRID® tiles (225 floor + 15 spares) and 16 ULTRAEDGE ramps for a 6×6 m garage.
- Single Colour — one unbroken colour across the entire ULTRAGRID® floor for a clean, uniform look.
- Open-rib ventilated surface — raised ribs with drainage channels promote airflow and shed moisture on contact.
- Low maintenance — top and side channels on each ULTRAGRID® tile drain water and debris. Vacuum, sweep, or pressure wash to keep it clean.
- 20t/m² load rating — park cars, SUVs, utes, and workshop equipment on your ULTRAGRID® Single Colour floor with complete confidence.
- Full DIY install — click ULTRAGRID® tiles together by hand in 4–6 hours. No adhesive, no trades, no curing. Drive on immediately.
- Built for Australian conditions — 100% virgin polypropylene, UV-stabilised. Resists oil, fuel, brake fluid, and solvents. Rated −40°C to +120°C.
- Portable and replaceable — lift the floor and take it with you if you move. Swap a single damaged tile without disturbing the rest of your Single Colour layout.
Technical Specifications
Installation Guide
What you'll need
- Tape measure
- Rubber mallet
- Jigsaw (for edge cuts)
- Marker or pencil
- Broom
Time estimate
- Single garage (20-25 sqm): 4-6 hours
- Double garage (40-50 sqm): 6-10 hours
- No curing time — drive on immediately
Installation steps
-
1
Start from the entrance
Begin laying tiles at the garage door corner. Leave a 5–10mm expansion gap at all walls.
-
2
Lay the first row
Complete your first row across the garage, clicking tiles together. The interlocking pegs and loops do the work.
-
3
Fit entrance ramps
Attach ramp trims to the first row and slide the row snug against the garage door.
-
4
Centre your design (optional)
If your design has a centred pattern, adjust the first row to leave equal gaps on both sides.
-
5
Lay remaining tiles
Continue laying rows towards the back and side walls, clicking each tile into the previous one.
-
6
Trim edges and finish
Cut edge tiles with a jigsaw, click them in, and your floor is ready to use immediately — no curing time.
Shipping
Free shipping Australia-wide on all orders.
Orders are dispatched from our warehouses in Melbourne, Sydney, or Brisbane within 1-2 business days. We ship from the closest warehouse to you for fastest delivery.
Standard delivery typically takes 3-7 business days depending on your location. Express shipping available at checkout for metro areas.
Warehouse Pickup
Pickup is available from our Melbourne, Sydney and Brisbane warehouses, by advance order only: place your order first and we will let you know when it is ready to collect.
Returns
We offer a 40-day hassle-free returns policy. If you are not completely satisfied with your purchase, contact our team and we will arrange a return. Items must be unused and in original packaging.
Warranty
All products come with an Australian replacement warranty covering manufacturing defects. If any product fails under normal use, we will replace it free of charge including shipping.
15 boxes 240 tiles, 38.4 m²
Real garages, real customers
Real Aussie installs using this range — tap any photo to explore the build.